Before / After
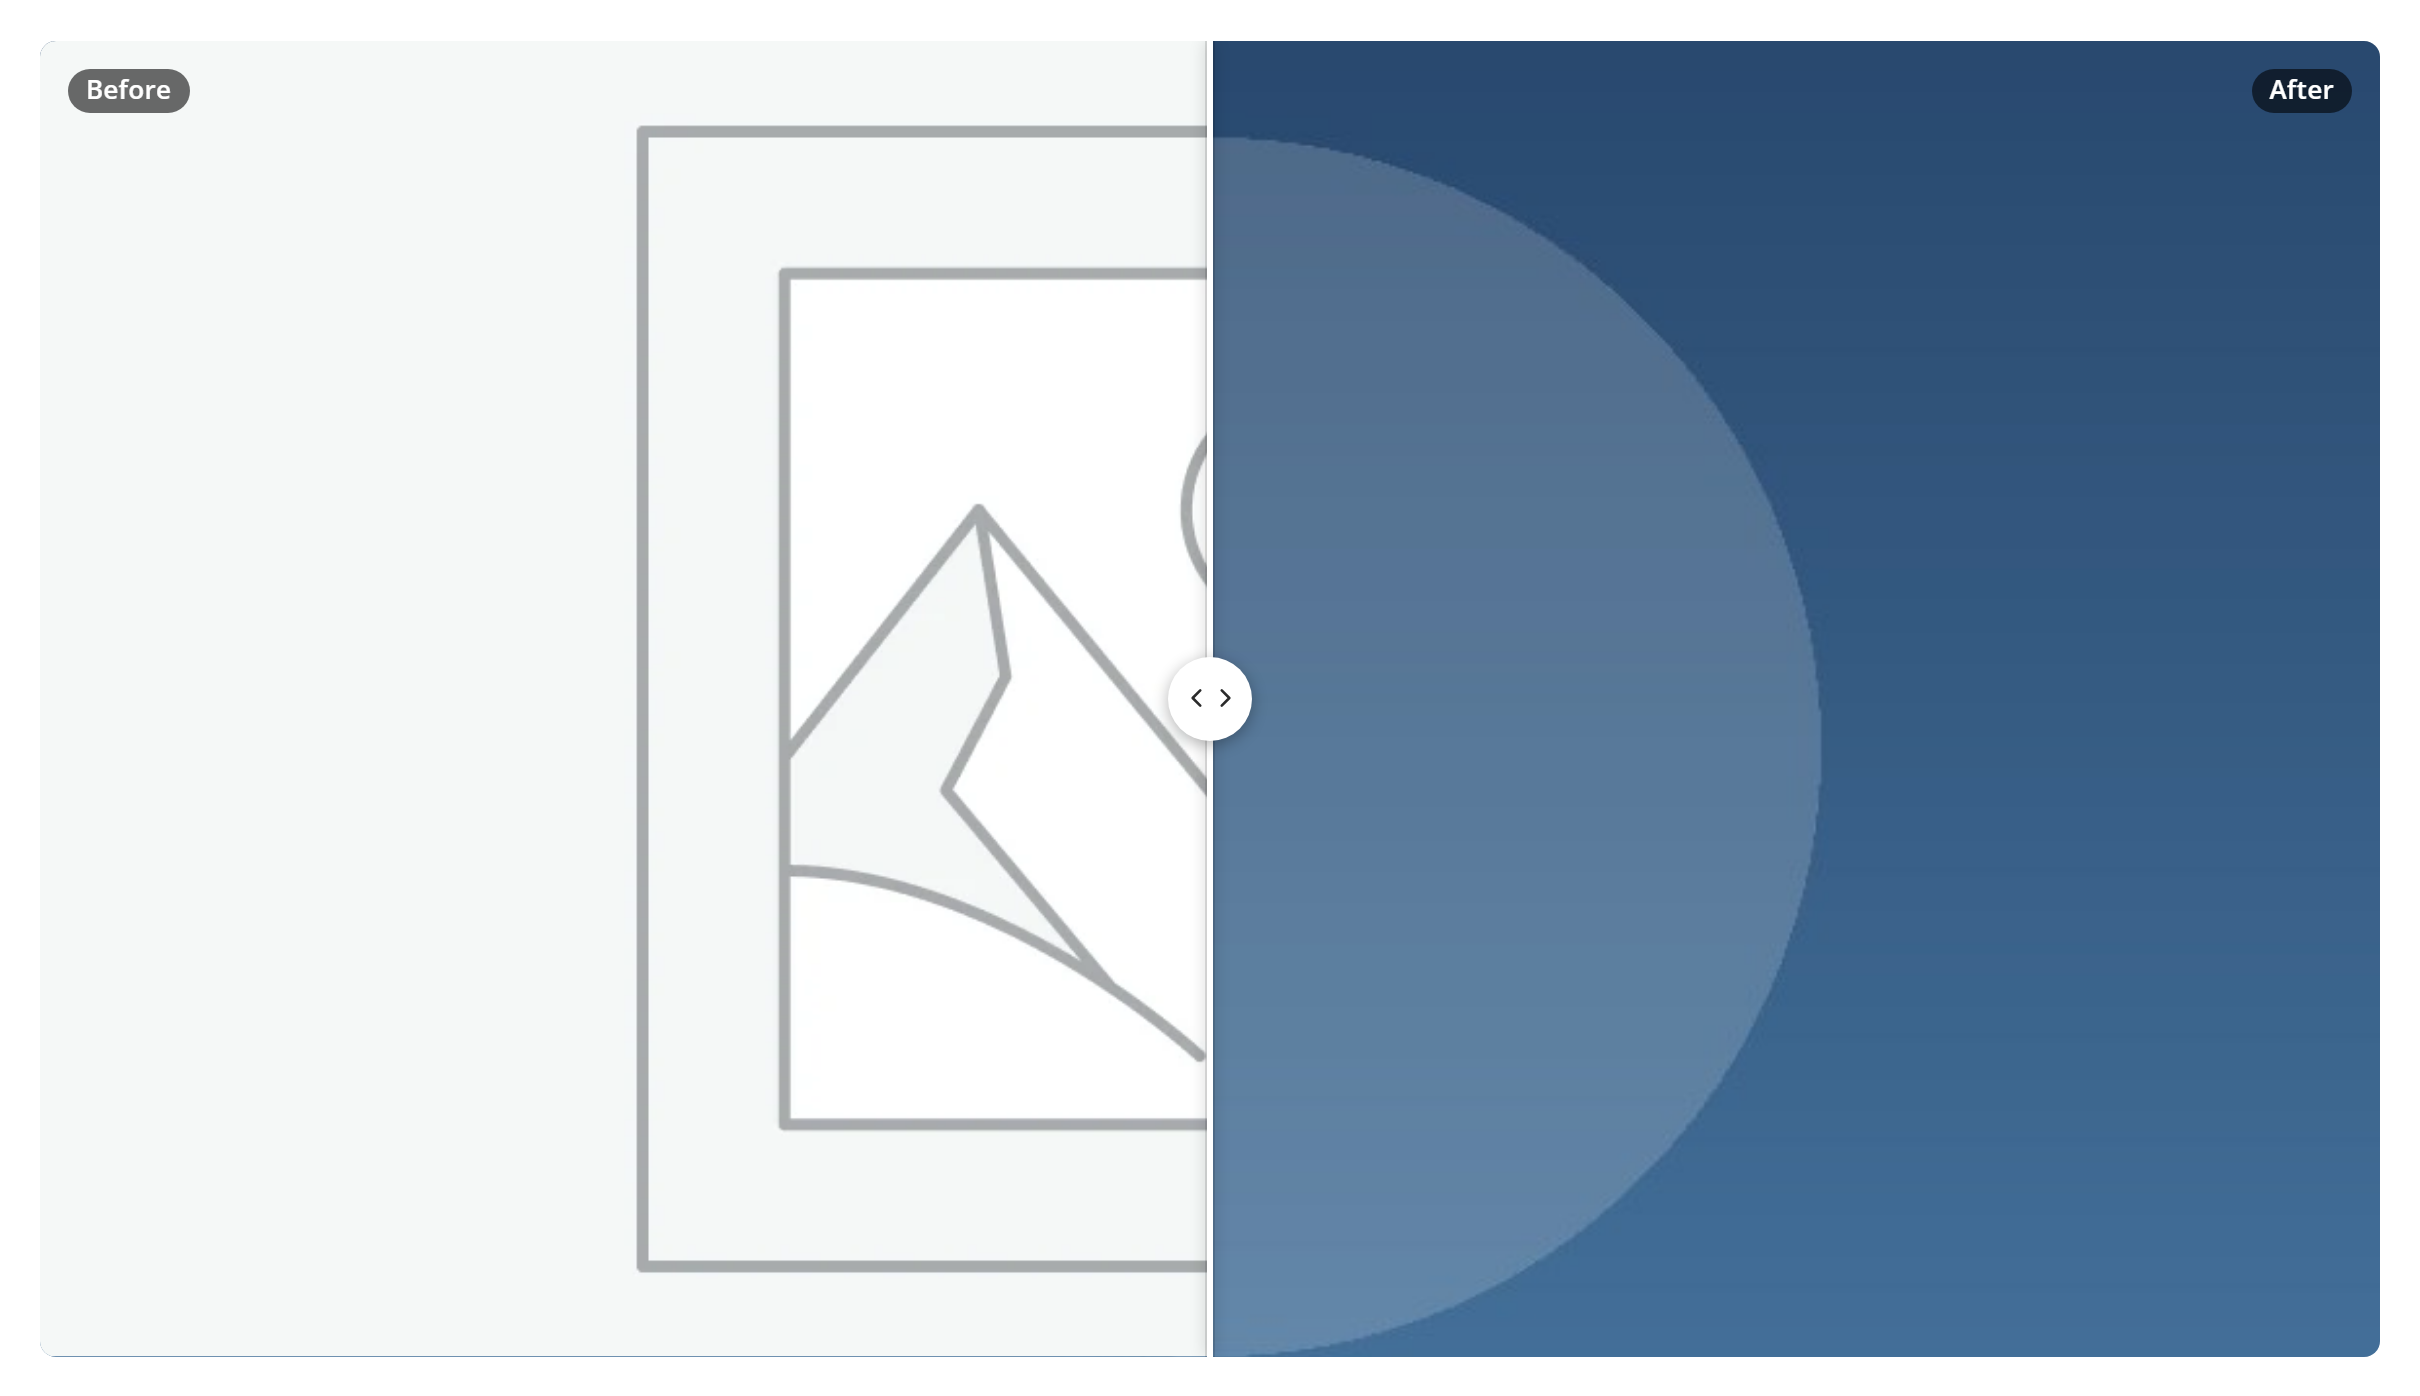
A draggable comparison slider that wipes between two images — the classic "before and after" for edits, renovations or product states. Drag the handle to reveal more of either side. Like every block in the library, it is a second authoring surface, not a second renderer: the canvas preview and the front end are both produced by the Before / After element — the same server-side code as the page builder — so the output is identical either way.
Options
Select the block and open the Settings (block) tab; the whole sidebar is generated from the element's option schema, so it stays in step with the page builder.
| Option | What it does |
|---|---|
Before / After image (before_image, after_image) | The two pictures to compare. |
Ratio (ratio) + Max width (max_width) | The aspect ratio of the frame and its maximum width. |
Labels (label_text, label_bg) | Show "Before" / "After" tags on the images. |
Handle (handle_color, handle_icon_color, divider_color) | The look of the drag handle and divider line. |
Rounded / Borders (rounded, show_borders) | Corner radius and an optional border. |
The block also opts into WordPress Margin / Padding (and, where it makes sense, alignment), which inherit the site's design system from theme.json.
Sample content
A block stores only what you change as one upOptions object; the element's declared defaults fill in the rest at render time. The demo above is:
<!-- wp:unysonplus/before-after {"upOptions":{"before_image":{...},"after_image":{...},"label_text":"yes"}} /-->
Each image value is a media reference ({"attachment_id":123,"url":"…"}), so use the block's image pickers rather than typing them by hand.
The before-after element
The block and the page builder's Before / After element are two doors onto the same code. Its full option, markup and behaviour reference is documented there.